I not so recently became engaged (yay!!!!) and as an event planner, I know I need to get as much done as possible as early as possible so that I can enjoy my wedding and not be a stressed out lump rolling down the aisle on our wedding day. My fiance and I already have our venue and date so it's time to get down to business. Ideally, when I plan an event I like to build in about a two month window for any unseen hiccups and general tom foolery that occurs when you need a bunch of people to work together. Since the wedding is not until November, I had plenty of time to plot to my hearts content before anything needed to be finalized. My timeline spreadsheet and budget spreadsheet are already synced and so far the details are falling into place quite beautifully.
I know I will be DIYing a ton of things for my wedding for several reasons: one I know it will keep costs down and I would rather my guests enjoy great food and tons of booze than marvel at insanely priced table numbers and other such things; two because I really enjoy DIYing and its a great way to let go of some of the stress I'll be under; and three because as a graphic designer (don't ask my job is a really strange amalgamation of things) I like having control over the end product and I generally already have the means or vendor connections to bring my vision to life.
To that end, I have a general idea of what I want our wedding to look like and my wonderful fiance Ronnie agrees with the plans and brings some of his own so I know it's time to get going on a few of the DIY projects while the weather is mild. We will be needing some chalkboard signs for our favor table and the
tutorial I found ended up being cheaper and much more personalized than anything I found on Etsy...my go to site to find DIY inspiration. Our wedding is going to have kind of like a vintage/rustic mixed with a touch of magic feel to it so I wanted to be sure that the chalkboards matched this feel. After a quick search in the local thrift stores for filigreed frames, I stumbled across a treasure trove of fabulousity at the Michael's frame sale. I will use one of the frames to make a large chalkboard later but I wanted something a little smaller as my test project. To that end, I then picked up a mirror from a thrift store and the project became even easier. And so our journey begins.
Todays Cast of Characters:
One of the best things about this project is how simple it is. A mirror with a cool frame is the star of the show. Some painters tape will become your best friend by preserving the cool frame. You also need some chalkboard paint, I used the spray kind from Rustoleum because its my jam, and some chalk to condition the board once dry. I really liked the antique hodgepodge feel of the frame so I didn't need to spray paint it but if you want all of your chalkboard frames to be uniform feel free to spray them whatever color you desire.
What to Do:
The first step is to condition your frame to whatever you'd like it to be. Again I left the colors alone because the frame was cool but if it wasn't I would have wiped them down with some cleaner to remove dirt and grime. You can even get into the most delicate filigree work by using a Q tip if you really want to go the distance. I did however use a little Windex with vinegar on the mirror in order to remove dirt and smudges before spraying.
Carefully tape around the mirror preserving the frame but not overlapping onto the mirror part. This was a challenge for me due to poor motor skills but with a little ingenuity and a lot of measuring with my eyes I got it to a point where I like it.
After you've tackled that, its time to chalkboard. Basically chalkboard spray paint is a chalkboard in a can. It takes about two coats to cover the board completely and the finished product is absolutely gorgeous but tends to take the texture of the base material. Just something to keep in mind.
Let the chalkboard dry completely (about a day) and then its time to season it. I love when DIY and cooking intersect in such unexpected ways. Much like a cast iron skillet, the chalkboard paint needs a protective layer of something to keep it looking great and doing its job. In this case it's chalk and you rub the whole thing down with it and then wipe it off with an eraser. The directions for doing this are on the back of the can. Be sure to remove the tape carefully before doing the seasoning.
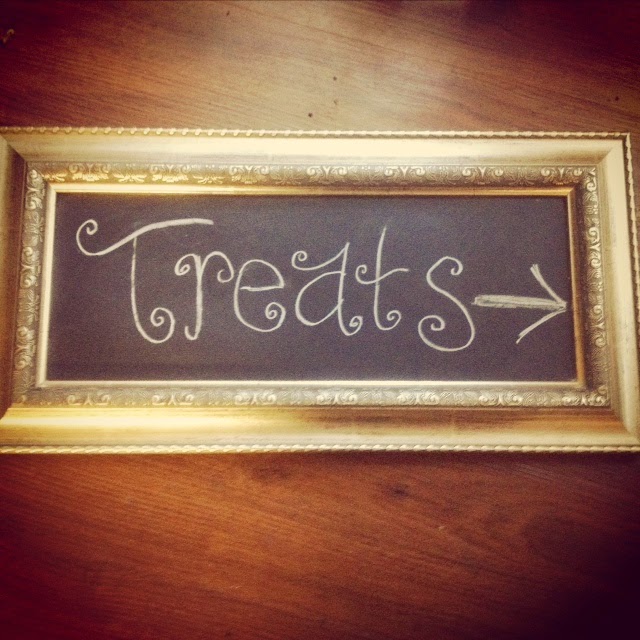
Finally! The chalkboard in a frame is now ready for use. I know that Ronnie and I will get some practical use out of this after the wedding for notes and grocery lists and all sorts of house stuff. It's also going to be a wonderful addition to our wedding!


No comments:
Post a Comment